photographing kids
Kids are cute. It seems it should be very easy to take a lot of good photos of them but somehow it is not…
It is hard to claim I had this idea in my head and just executed it. I don’t work like that. I just observe waiting for the right moment to jump in and take a quick snap of the situation I find interesting. This photo is not different.
My favorite time of day is when the sun is low creating lots of contrast and long shadows. We live in Australia and lighting conditions here are usually very harsh with very bright sun directly over our heads. The golden hour lasts here for 10-15 minutes at the most. So once the sun gets near the horizon I usually became extra vigilant, looking for opportunities.
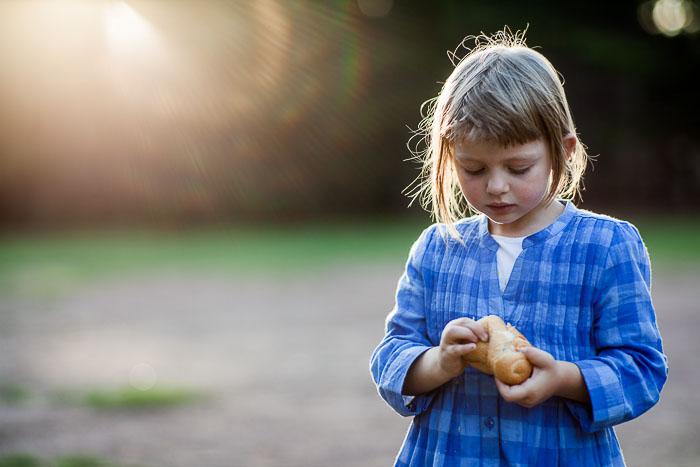
In this particular location we were in a large clearing in the middle of a pine forest. What you see in the background as a solid black, is actually an edge of the forest. The sun was just above the forest and I was ready, waiting. But as it usually happens with kids there was just way too much chaos and running around to create any decent photo opportunities and the time was limited.
I used zeiss 85mm/1.4 lens, which is perfect for portraits (on full-frame). It is not too long so I can stay relatively close to the subject and at the same time long enough to allow me a bit of the distance, not invading the subject’s personal space. With wider lenses I would have to get closer and distract the girl, with a longer one I would be too far to talk to her. The other reason I picked that lens is its aperture of 1.4 that allows me to isolate the subject and blur distracting background into an unrecognizable colorful pattern.
On a cropped sensor I would probably use pentax 50mm/1.7. I have been raving about that cheap lens for a long time.
I needed to keep one of the kids (in this case my daughter) in one place for long enough to find the perfect angle. This is usually the difficult part when shooting little kids – they have way too much energy to sit still and wait for you to take your perfect photos. It is important to have some props, something to occupy little ones for a bit. Also, to add to the complexity of the task, usually there is no way to repeat the shoot so there is no room for mistakes (unless you shoot in a studio against a painted background…). In this case a piece of bread did the trick.
Once I had her roughly in one place, I moved off to find the right spot to shoot from. I went low, to get onto the same eye level as my subject, and positioned myself to have the sun behind her. I had the camera in manual mode, set earlier, to make sure my exposure was spot on and not to waste any time.
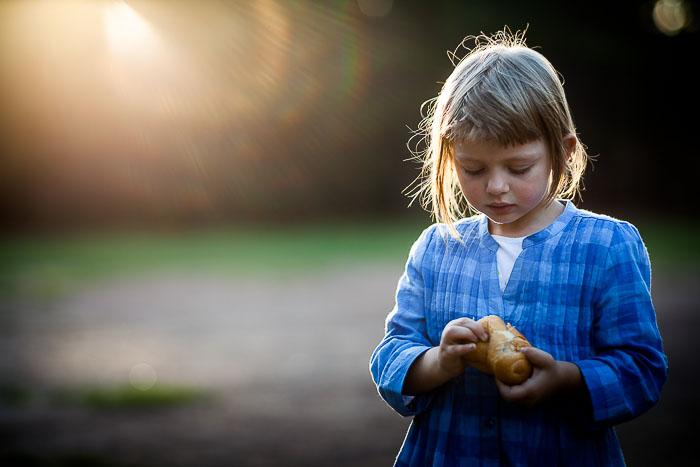
My daughter is very quick and never stays still in one place. In this case I managed to take a dozen photos of her before she ran away. Because she wasn’t forced to pose for this photo I ended up capturing very natural expression. The only crucial part to this photo was my careful positioning to have her against a dark background with the sun illuminating her hair and creating this nice soft lens flare.
One of the main reasons I use old lenses without modern coatings, is to be able to shoot strong colorful lens flares. Most of the modern lenses are just too perfect for my liking. Another advantage of having an old lens is its lack of autofocus. Yes, I did write ‘advantage’, it wasn’t a mistake. If I had had autofocus I would have probably used it as it is supposed to be quicker and more accurate. The problem with autofocus is that you need to reframe to have one of the autofocus sensors on your subject. When the subject is unstable and the lens has extremely shallow depth of field it is necessary to update focus often, which results in constant reframing of the shot. So in the end, focusing takes priority over your framing. The framing always comes second. I, however, prefer to compose the shot the way I want it and manually adjust focus on a moving subject without changing my composition. That way I see the final photo all the time.
Using old lenses has it drawbacks too. If any sunlight hits the front element of this lens it flares a lot and the resulting photos are very washed out and low contrast. In digital darkrooms, however, it is not a big problem.
Here is what the RAW file looks like with no adjustments:
Histogram for this image clearly shows that there are no blacks in the picture:

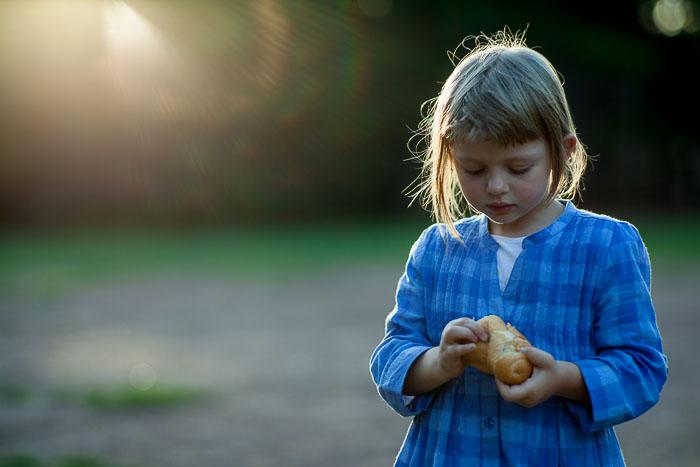
using levels in photoshop or the “blacks” slider in lightroom, this can be easily corrected:

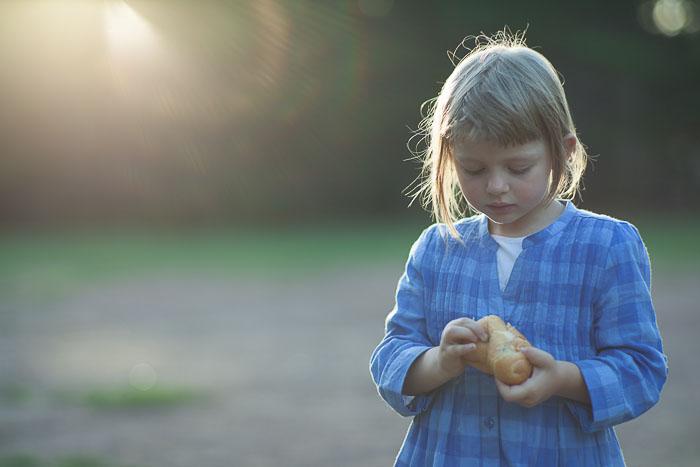
this photo was underexposed to preserve as much of the highlights as possible (while still retaining enough detail in shadows). Correcting exposure gives a much better picture:
from this point onwards, further adjustments of contrast, white and black points and subtle white balance correction takes us almost to the final image.
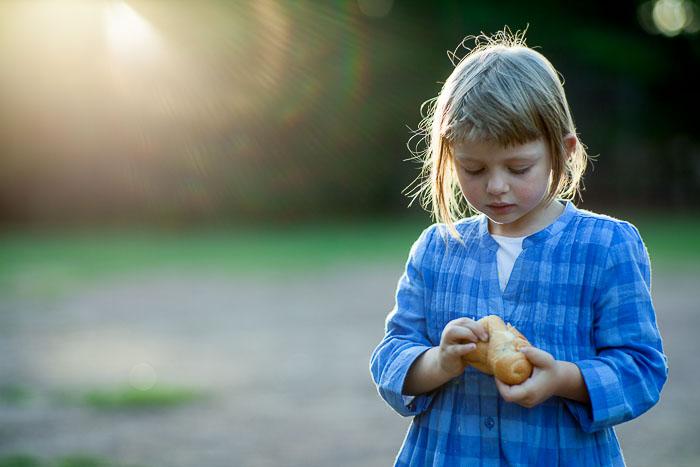
One of my favourite tools in lightroom is the gradient adjustment. I used two gradients in this case – one to darken the bottom of the frame, the other to brighten the top of it. This brings the focus more towards the face. I know – now you can see the gradient and you think it is a bit obvious but did you notice it on the first photo? If you did I have probably overdone it but I hope it is only obvious once pointed out…